No Nails, No Damage, No Hassle Wall Décor | DapHub
No nails no damage wall décor using DAP-TILES photo tiles

No Nails, No Damage, No Hassle Wall Décor

DapHub Team  •  December 24, 2025

No Nails, No Damage, No Hassle Wall Décor

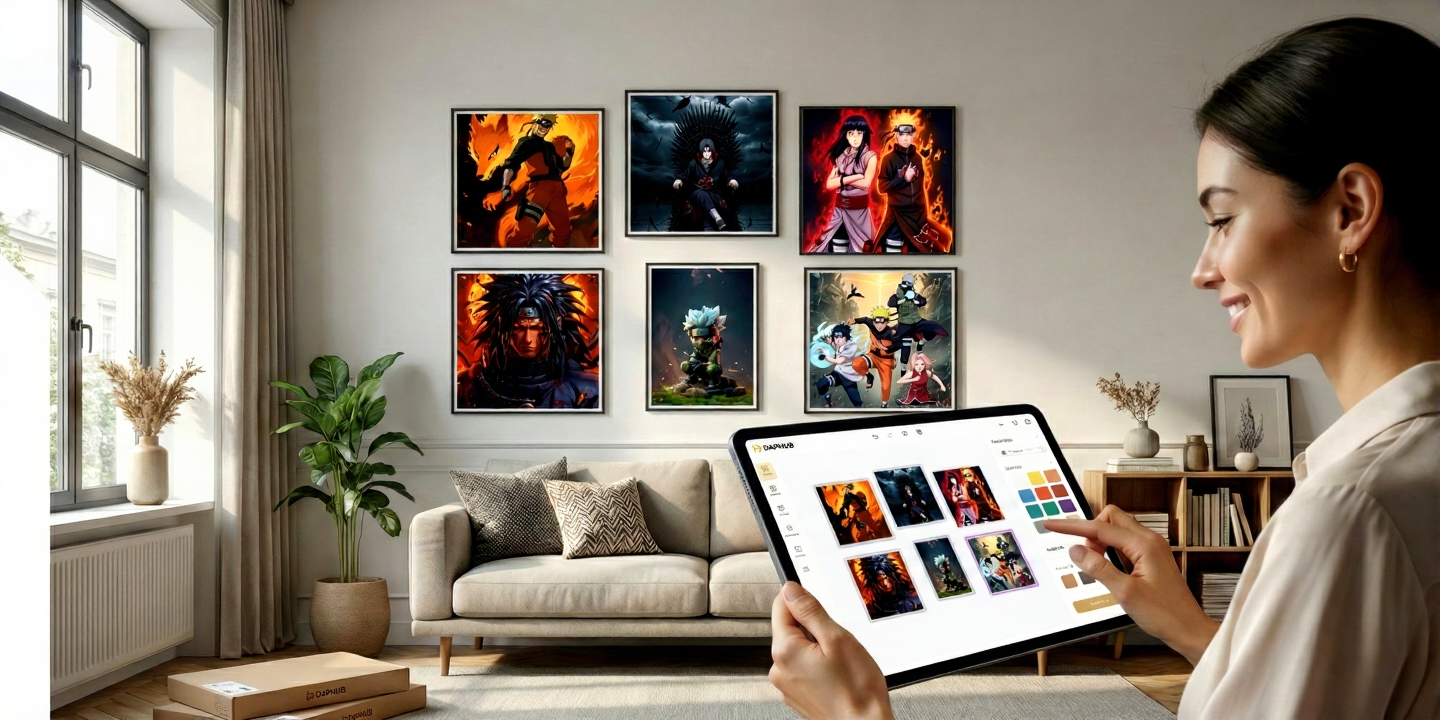
Imagine turning your favourite memories into stunning wall art with the click of a button — and hanging them without a single nail, drill bit, or wall patch needed. For millions of renters, paying-guest residents, and homeowners in India's rapidly growing apartment market, wall damage is not just inconvenient — it can cost you your security deposit. DAP-TILES from DapHub solves this completely. Here is everything you need to know about damage-free wall décor and how to do it right.

Why "No Nails" Wall Décor Matters in India

India's urban rental market is enormous — Mumbai, Bengaluru, Delhi, Pune, and Hyderabad alone have millions of renters living in apartments where drilling walls is either prohibited by the landlord or risks losing a security deposit. Even homeowners in newer developments face restrictions from housing societies on wall modifications.

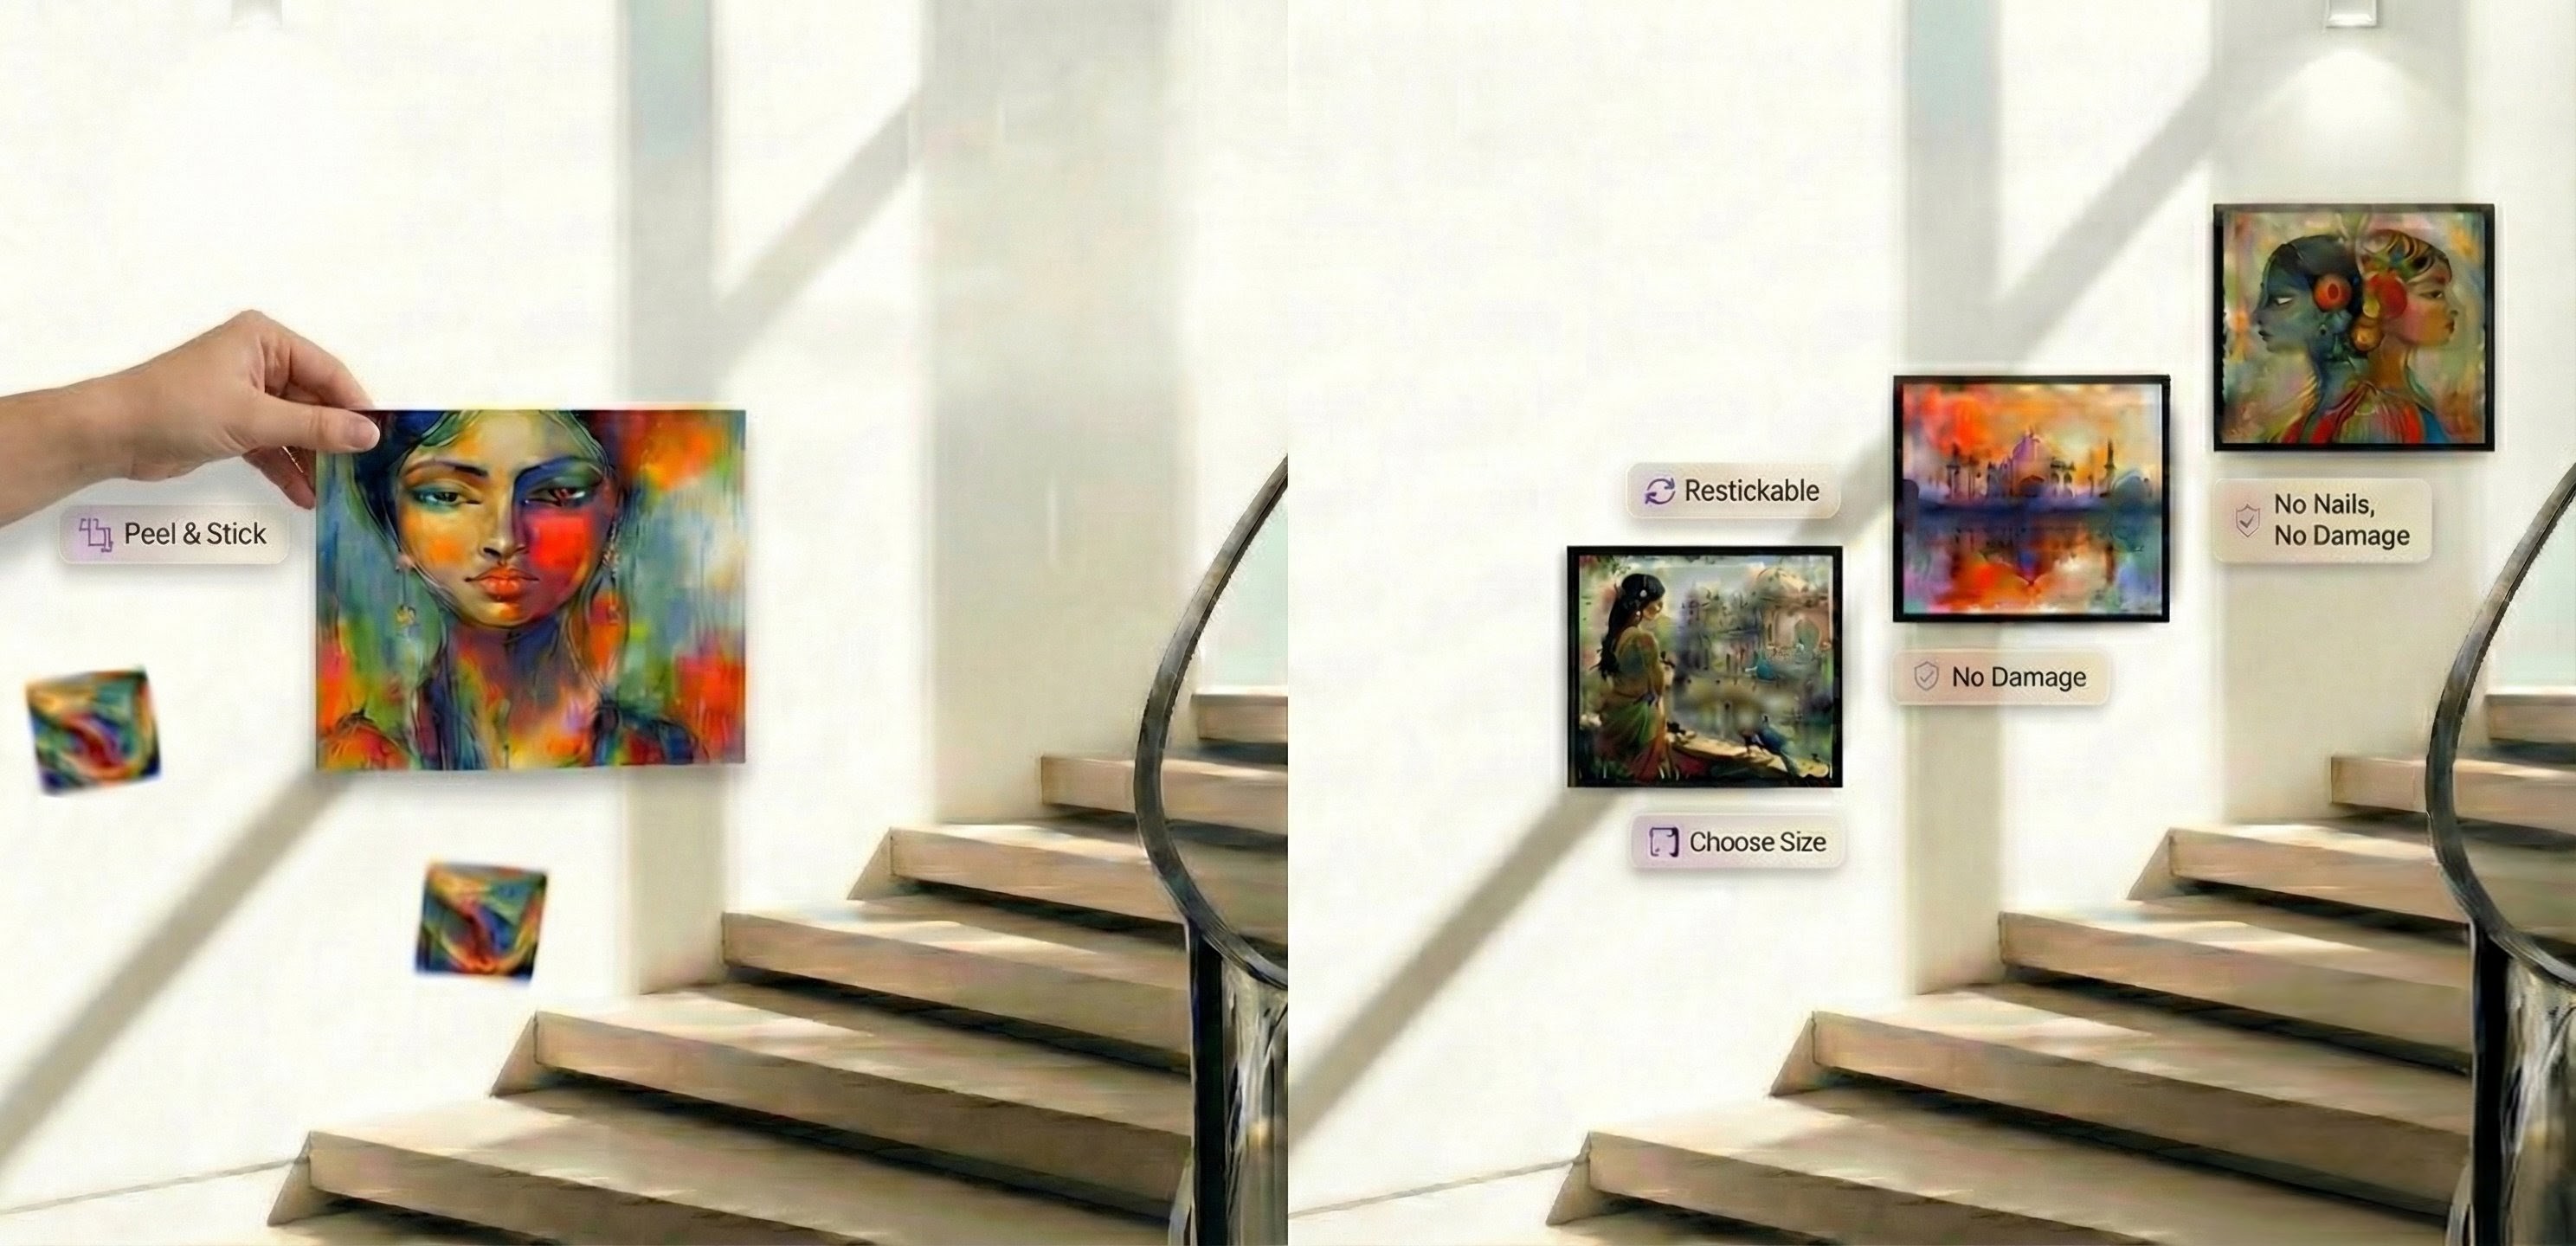
Traditional photo frames require nails or screws. Heavy canvas prints need wall plugs and careful anchoring. For renters, this creates a painful choice: live with bare, impersonal walls, or risk damage. DAP-TILES eliminates that choice entirely.

What are DAP-TILES?

DAP-TILES are custom photo tiles — individual square or rectangular prints mounted on a lightweight rigid backing — designed to be hung using adhesive mounting strips rather than nails or screws. Each tile is:

  • Lightweight: The rigid but light backing keeps tiles manageable and reduces stress on adhesive strips.
  • Fully customisable: Upload any photo, choose a size, pick a frame finish — the tile is printed and delivered ready to hang.
  • Rearrangeable: Adhesive strips are designed to be removable without wall damage. When you want to change your layout — or move apartments — tiles come down cleanly.
  • Available in multiple sizes: From compact 15×15 cm tiles to larger 30×30 cm statement squares, DAP-TILES scale to any wall and any budget.

Browse the full DAP-TILES collection to explore available sizes, layouts, and frame options.

DAP-TILES photo tiles arranged in a no-nail wall display in a modern apartment
DAP-TILES mounted with adhesive strips — no nails, no drilling, no wall damage

How to Hang DAP-TILES Without Damaging Your Walls

  1. Clean the wall surface: Wipe the area with a dry cloth to remove dust. Adhesive strips bond best to smooth, clean surfaces — painted walls, wallpaper, and tiles all work well. Rough or textured surfaces may require heavier-duty strips.
  2. Plan your layout first: Use the DapHub design tool to preview your tile arrangement. Then use painter's tape to mark positions on the wall before attaching tiles — this lets you adjust spacing without commitment.
  3. Apply the adhesive strips: Attach strips to the back of each tile per the manufacturer's instructions. Press firmly against the wall for 30 seconds. Allow 1 hour for maximum bond strength before placing weight on the tiles.
  4. Align and level: Use a small spirit level for the first row. Subsequent tiles can be aligned against the first. For grid arrangements, consistent spacing (use a ruler or spacer card) is key to a professional result.
  5. Removal: When you want to remove a tile, pull the adhesive strip tab slowly and parallel to the wall surface. This releases the strip without pulling paint or plaster. If a strip does not have a tab, use dental floss or a thin wire drawn behind the strip to separate it gently.

Weight Limits: What You Need to Know

Standard removable adhesive strips (such as those from 3M Command) are rated for different weight capacities depending on the strip size. For DAP-TILES:

  • Small tiles (up to 20×20 cm): 2 standard strips are sufficient for most tiles.
  • Medium tiles (20–30 cm): Use 4 strips for secure hanging.
  • Large tiles (30+ cm): Use 6 or more strips, distributed evenly around the perimeter of the tile back.

DapHub's tiles are designed to remain within safe weight limits for standard removable adhesive products. If you are uncertain, always err on the side of using one more strip than you think you need — it is the simplest way to guarantee a secure hang.

Creative no-nail wall art display with DAP-TILES in a bedroom
A complete no-nail gallery wall created with DAP-TILES — rearrange any time

5 No-Nail Wall Décor Ideas for Indian Homes

  1. The family memory grid: Arrange 9 square tiles in a 3×3 grid featuring your best family photographs from the last year. Update one tile each month as new memories are made.
  2. The travel wall: Dedicate a wall to your travel photographs — each tile a different destination. Build it gradually, adding new tiles after every trip.
  3. The staircase accent: Line the staircase wall with a diagonal row of tiles at consistent intervals. This is a dramatic, gallery-like display that works in any home with a staircase.
  4. The bedroom headboard feature: Arrange 6 tiles in a 2×3 formation above the bed as a soft, personal alternative to a headboard.
  5. The children's room rotation wall: Create a designated wall in your child's room with tiles featuring their art, school photos, and milestones — swap tiles in and out as they grow.

Ready to get started? Design your first DAP-TILE for free — upload a photo, preview the result, and order in minutes.

Beautiful walls. Zero holes. Zero hassle.

Design your custom DAP-TILES, preview on your wall, and order — delivered across India.